Using Notion as a Content Management System (CMS) for your applications
Recently while developing GarajApp, a car magazine app, we had a need to use a CMS to add content such as News, Campaigns and static pages like Guides. We considered several options like Strapi, Contentful or even implementing a simple enough markdown editor with WYSIWYG editor.
Choosing the right CMS
Founder of GarajApp tried using Strapi earlier and it ended up a maintenance burden with updates, errors, and not-so-easy development flow. We needed something simple enough, yet production ready. We just needed to serve some content from our database to the mobile app, how hard it could be?
We were leaning towards implementing a very simple page with a good WYSIWYG editor, perhaps with markdown support, that simply retrieves a page record and updates when we click save. It really looked easy but we had some concerns like adding a login, uploading the photos, managing the pages etc. Ok, so it wasn't so easy, then should we go with a full-scale content management system that supports a looot of things?
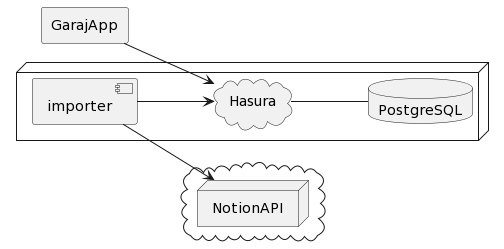
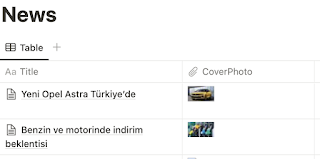
During a weekly brainstorming session, we threw the idea of using Notion! Notion has a great user experience when you edit or organize content, it has great permissions and login capabilities, and uploading images is so easy on that. We immediately started doing an end-to-end proof of concept, editing a page in Notion should be reflected in our mobile app within 10 minutes with using GraphQL(with Hasura engine).
Proof of Concept
Now we need to run this script and call the API every 10 minutes with cron, can be more frequent if needed, and update the records in the database. Simply upserting the objects in fetchedNews to our news table in our database would be enough. We used Hasura as a backend in this project, so we just called the API with an upsert request with conflict on id field.
Making a GraphQL call to our Hasura engine, and we return the data! Now you can implement a code for transforming this Notion blocks to be displayable elements. You can implement a simple markdown generator or can just directly use the blocks in your code. We moved with implementing a module in iOS that converts these blocks into a display.


